This process is so easy, you’ll probably just want to have your kids do it for you while you kick back with a cool drink and watch. But let’s make sure you have the process down before turning over the brush to Junior. Start with just a few chips and complete the process so you can make adjustments as needed before embarking on the whole vehicle.
Prep
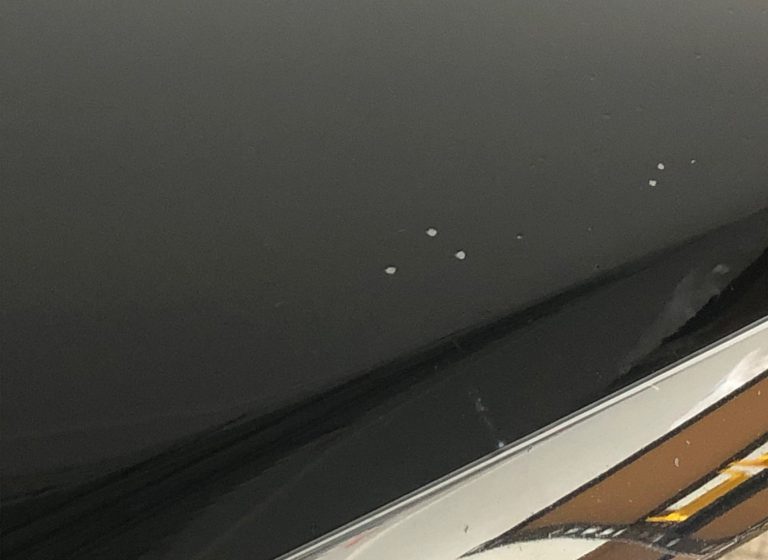
You’ll want to be sure the vehicle is clean and dry. Generally, that’s enough to properly prep the surface. However, we do offer our Prep RX product that will remove any wax or silicone that may still adhere. It’s good to rid the area of such contaminants, as they may prevent proper paint adhesion. Make sure the panels to be painted aren’t excessively hot. Ambient temperatures should be 40-95 degrees F.
Clean, dry, and ready for repair.
Step 1: Apply the Paint
Shake paint bottle until color is thoroughly mixed.
Please note, some colors look very different in the bottle or when initially dispensed than they do after smeared flat into the chip, so continue with the process even if the color looks a little off. You can always remove it entirely if needed.
Apply a small amount of paint to the panel next to the chips, OR, you can apply a small amount of paint directly to the underside of the beveled edge of the squeegee.
Pull the paint squeegee at about a 45-degree angle spreading paint over the chip(s.) The paint should lay smooth and flat, with little excess paint accumulating outside the chip. The paint will stick to the squeegee, so you can literally “pick up the paint” and apply more to other chips. Reapply as needed.
Apply paint to squeegee.
Note the angle of squeegee.
Smear paint over chips.
Let the paint dry for at least a few minutes prior to the next step. The paint should be dry to the touch. For larger or deeper chips, you should give it more time as the paint toward the bottom of the chip may still be wet.
Step 2: Remove Excess Paint
Now it’s time to remove all that excess paint around the chips.
Shake The Pink Stuff blending solution and apply to the folded blending cloth or a soft T-shirt rag. You’ll want to moderately saturate an area roughly 2″ x 2″. Don’t drown the rag in solution.
Hold the cloth flat against the panel with several fingers (not just one, as you may dig the paint out) and lightly rub over the chip. Don’t press too hard; let the solution do most of the work. After doing this a few times, you’ll know how much harder you can press without removing the paint in the chips to expedite the process.
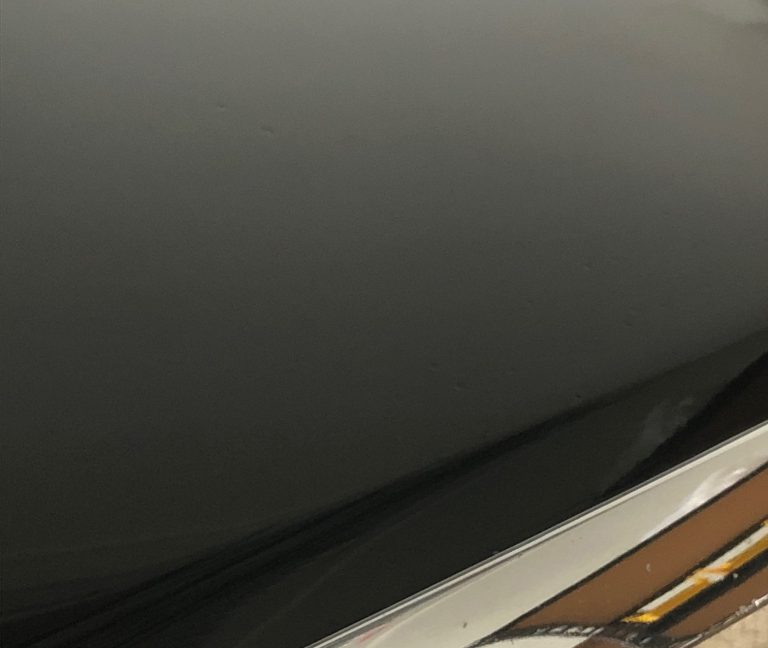
You will see the excess paint begin to melt away, while the paint remains where needed in the chips. When all the excess paint is gone, quickly hand-buff the area with the microfiber towel to remove any residual blending solution. If the solution dries to a haze that can’t be removed, apply more solution and buff to remove. The area should shine up nicely.
Apply Pink Stuff to blending cloth
Blend excess paint away
Buff with microfiber towel
You may need to reapply the paint to some chips to get a better coverage.
You’ll never get that factory finish unless you buy a new panel. But from normal viewing distance, the vehicle’s overall appearance should be greatly improved. That means stand back and look over the area from a few feet away. If you continue to eyeball the repair from 12 inches, the perfectionist in you will drive you crazy. It’s a repair, not a replacement. With that mindset, we are very confident you’ll be quite happy.